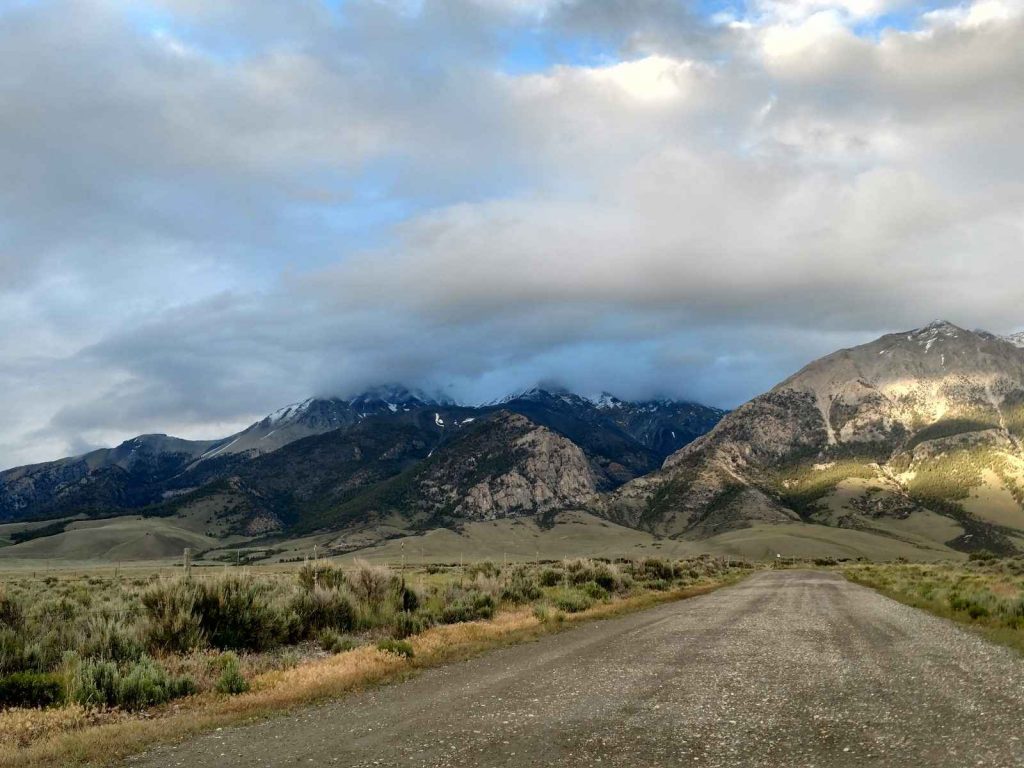
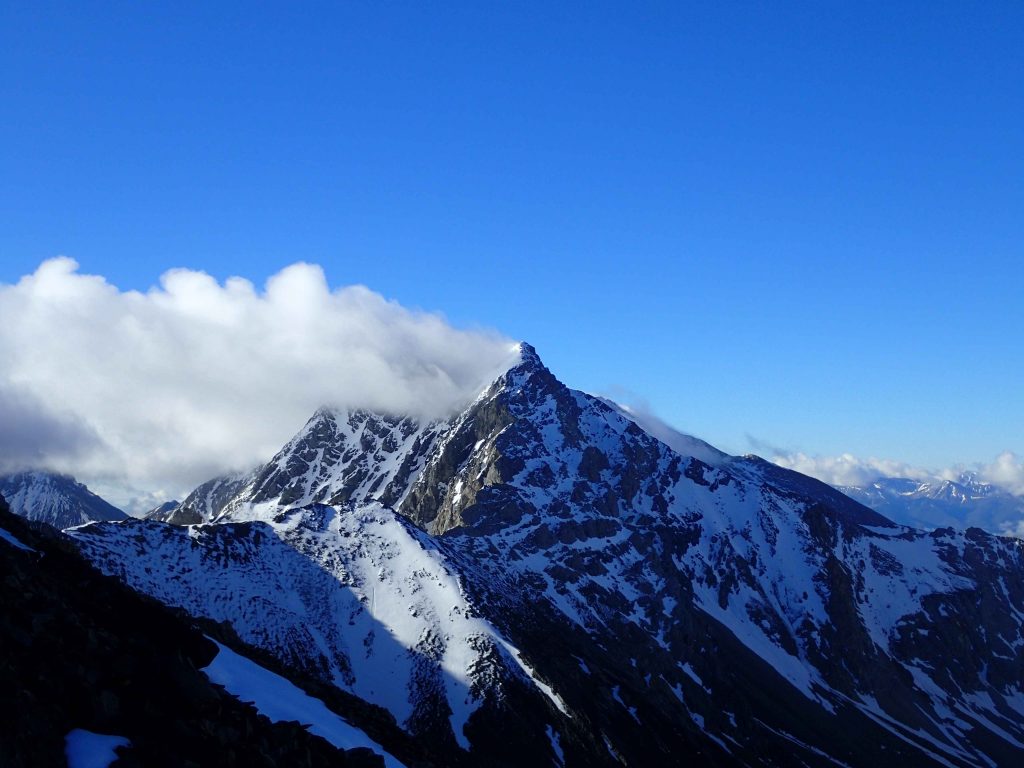
Borah Peak is Idaho's high point at an altitude of 12,667' and was the most serious mountaineering I did on my entire trip.

Borah Peak: A big goal of my trip.
If you've been following me long enough, you know that I have a goal of climbing all
50 state highpoints. Prior to Borah Peak, I climbed 39 other state highpoints- I'm on the final stretch now! Of course, this leaves a number of harder to reach high points in the West and North. I didn't anticipate Borah being as difficult as it was but I had a successful day.
Borah Peak is located in the Lost River Range of Idaho and in a region of extremely tall and narrow mountain ranges bounded by equally magnificent valleys. Its sparsely populated and gloriously wild as a result of being hundreds of miles away from any major metropolitan area. The peak's tremendous relief creates climbing routes ranging from challenging days to multiday ascents. Even the standard route, which I took, involves 5,200ft of elevation gain in 3.5 miles and some class III and IV scrambling over exposed ridgelines. Though its the "easiest route", it is not easy.
Although not well known for the kind of tectonic activity we see in California, Mt Borah experienced a
powerful earthquake in 80s that raised the whole mountain by 1 foot. So anybody who climbed before 1983 technically summited on a shorter mountain.
Trailhead and Camping for Mt Borah
In spite of Mt Borah's remoteness, its fairly easy to get to the trailhead. Its located about 30 minutes from the small town of Mackey, Idaho. I drove 20 miles north on US-93 to a well marked Birch Spring Road where I took a right. Its a well-graded dirt road passable by most any vehicle. From US-93, the trailhead is 3.3 miles up this road. There's a primitive campsite with no water and vault toilets available. I camped here overnight so I could have an alpine start the next day.
Mt Borah Approach
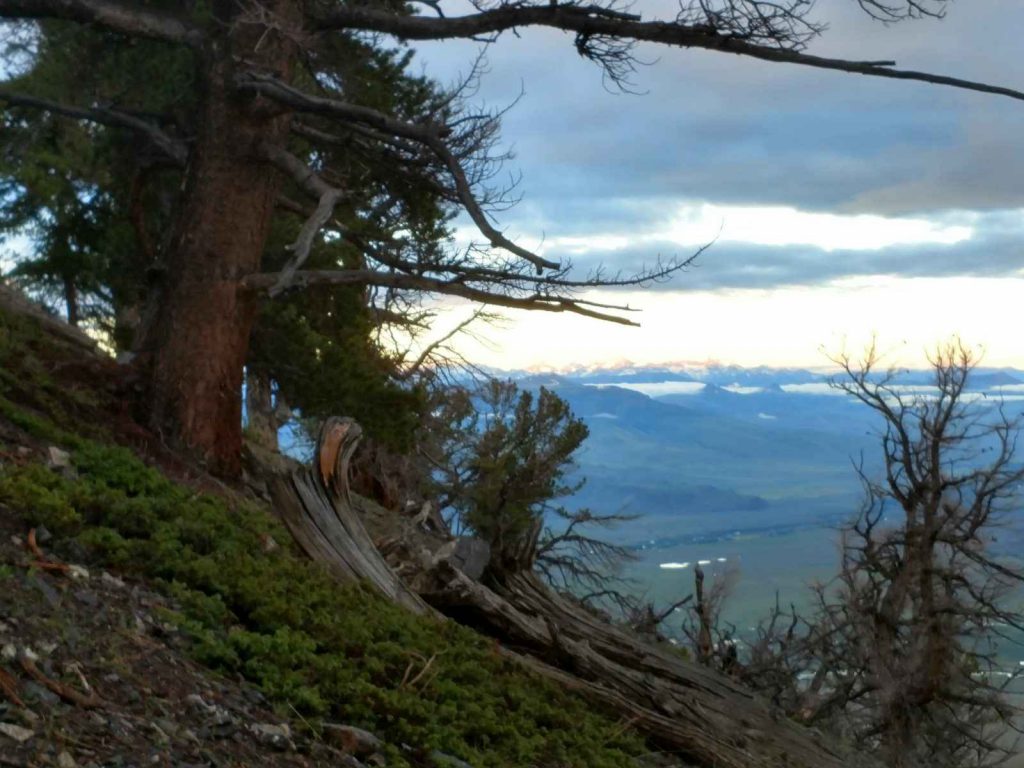
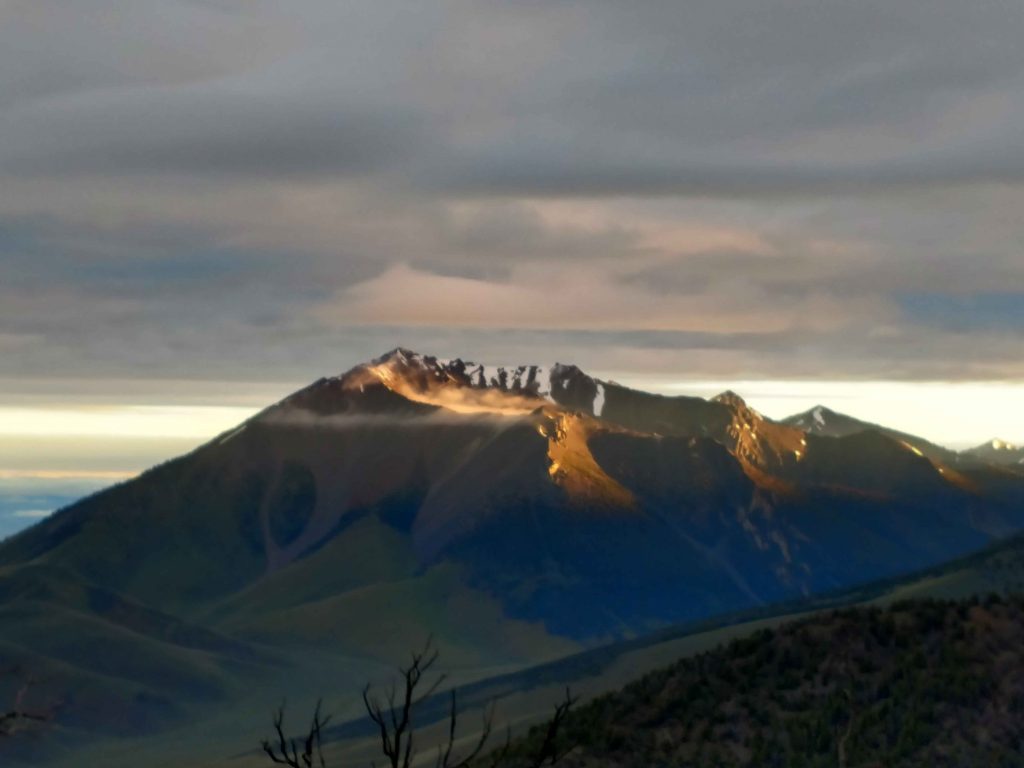
The trailhead to the technical section of Mt Borah is extremely steep, gaining 3,500 ft in just 2.7 miles. Although this is just the approach, don't underestimate the effort. I kept a roughly 1-1.5 mile an hour pace through this section but it wasn't such as slog given that there were great views almost the entire way. I watched the sunrise over the distant Pioneer Mountains to the southwest and watched some of the clouds dissipate. From several thousand feet above the Lost River, the valley sure looked stark and unpopulated
A few things I noted about the trail to Chickenout Ridge- First, there are tons of mosquitos so I wore 100% Deet as always. Second, the upper sections are washed out and gravely which slowed me down considerably. Finally, there's a nice bare section just below Chickenout Ridge that I stashed a water supply for the way back down which lightened my load a bit.
Chickenout Ridge
The famous feature of Mt Borah that turns less experienced climbers back is named Chickenout Ridge. At its best, its a straightforward Class III scramble up fairly exposed rock. At its worst, its class IV and a bit class V (for a few moves) with icey, runout sections. I think I experienced more of the latter.
To be honest, its hard for me to know when Chickenout ridge begins and ends. This was probably due to the heavy snow and ice that I encountered on the route. Mid June is considered early season for Mt Borah and the type of terrain you'd encounter in March in the Sierras or further South. Its probably not the best time to climb but here I was.
I think the experience of Chickenout Ridge is highly dependent upon previous climbing experience, current conditions and whichever route you take to get over this tricky section. Two things are certain. First is that it is exposed. There are sections that have long runouts into areas that would be difficult to self-arrest due to the variable combination of rock, scree, ice and snow. Second, its a "chose your own adventure" kind of route. As far as I could tell, there was very little to discern the "right route" which is why I feel some come back saying it was totally sandbagged and others act like they just climbed El Capitan. Again, I had a mixed bag.
The relatively deep snow and patchy ice made parts of the climb very easy- I just flew up them with a mountaineering ice ax and crampons. On the other hand, warm weather would make some of the hands-and-feet rock climbing easier to do with bare hands rather than gloves. Either way, I made it up the first section without too much trouble.
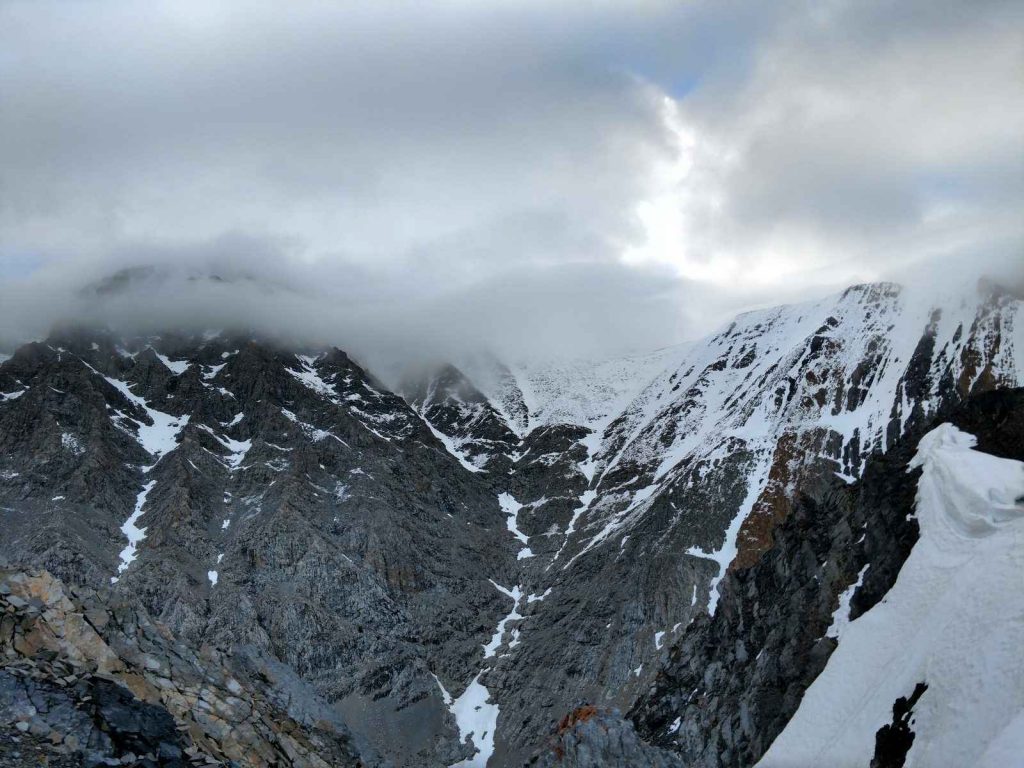
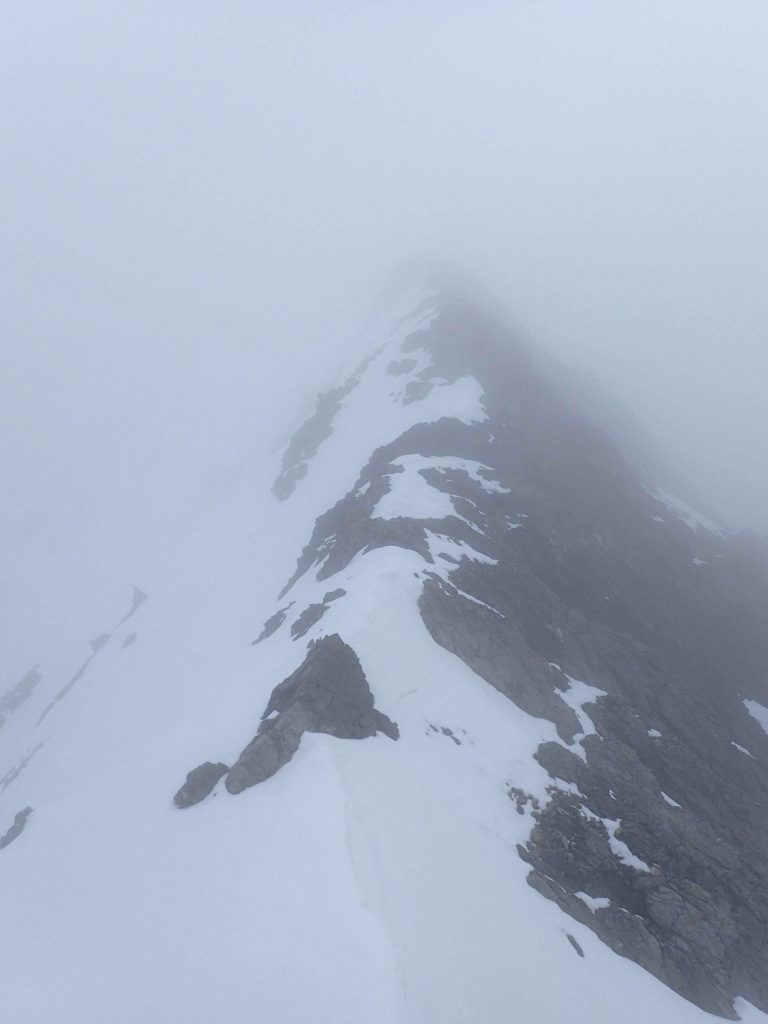
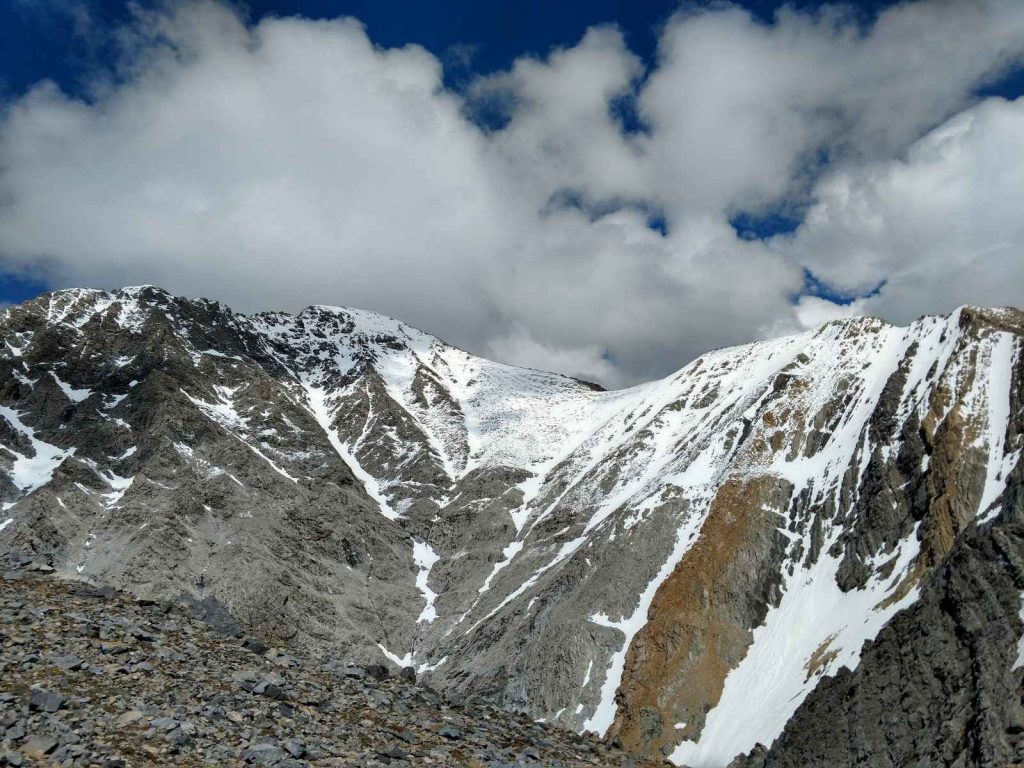
The Arête
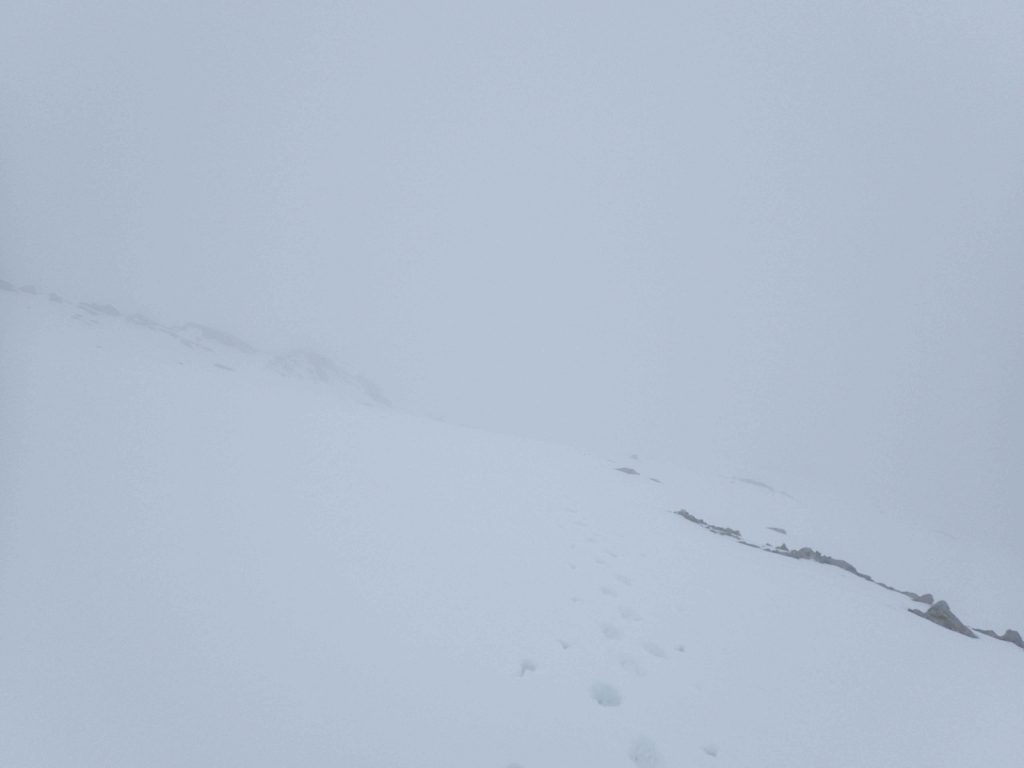
Pictured above is the final 0.7 miles on the way to the summit. The ridgeline makes a big dog-leg and heads North by North East in a straight line to the summit. I found this section to be tricky and it almost turned me back. I was battling some fierce whiteout conditions throughout the climb except for brief periods of clear weather when I snapped some photos. Not surprisingly, very heavy and deep snow along the arête made the going very slow and I definitely ended up in some exposed class IV sections that were exposed enough to have my heart pounding. Lastly, although its not obvious on a topographic map, there are some up and downs that are probably bypassed easily during dry conditions but can't be avoided when there's heavy snow and avalanche risk below the arête. So I took it very slow and was prepared to turn back at any step
To my own surprise, I kept a slow but fairly steady pace and was well on schedule to summit. Having recently sharpened my crampons and ice ax, I found they both bit into the snow and rock perfectly. Not that this made things easier but I felt more trust in my gear.
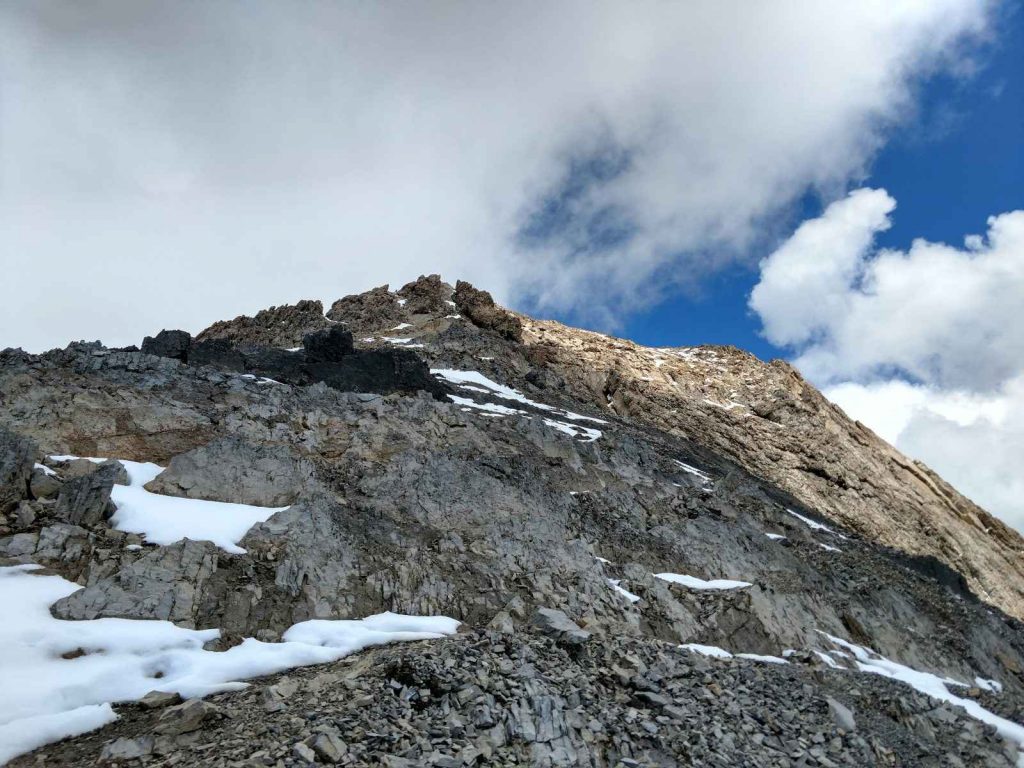
Final 800ft to the Summit
Finally the summit was in plain view but I still had 800 ft to go. I encountered the deepest snow in that final section where the trail stays below the ridgeline until the final hundred yards. At times I post-holed up to my waist which was aggravating. On the other hand, the travel was no longer technical (though steep). Of course, the altitude really hit me here too as a slowed to an inchworm pace.
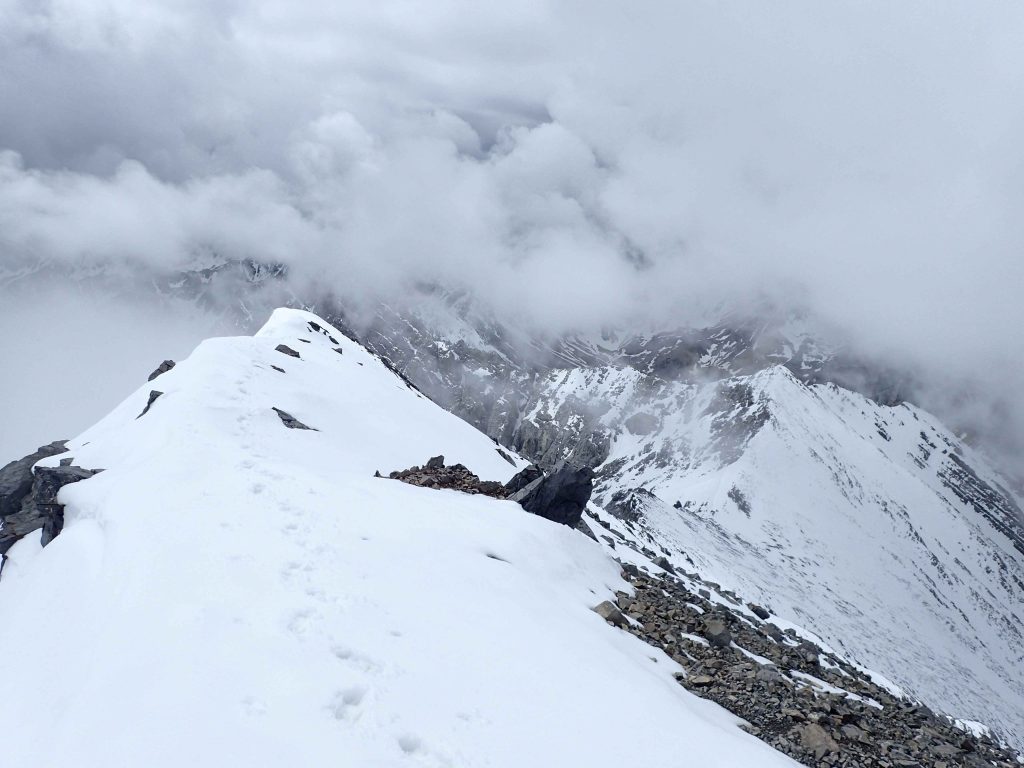
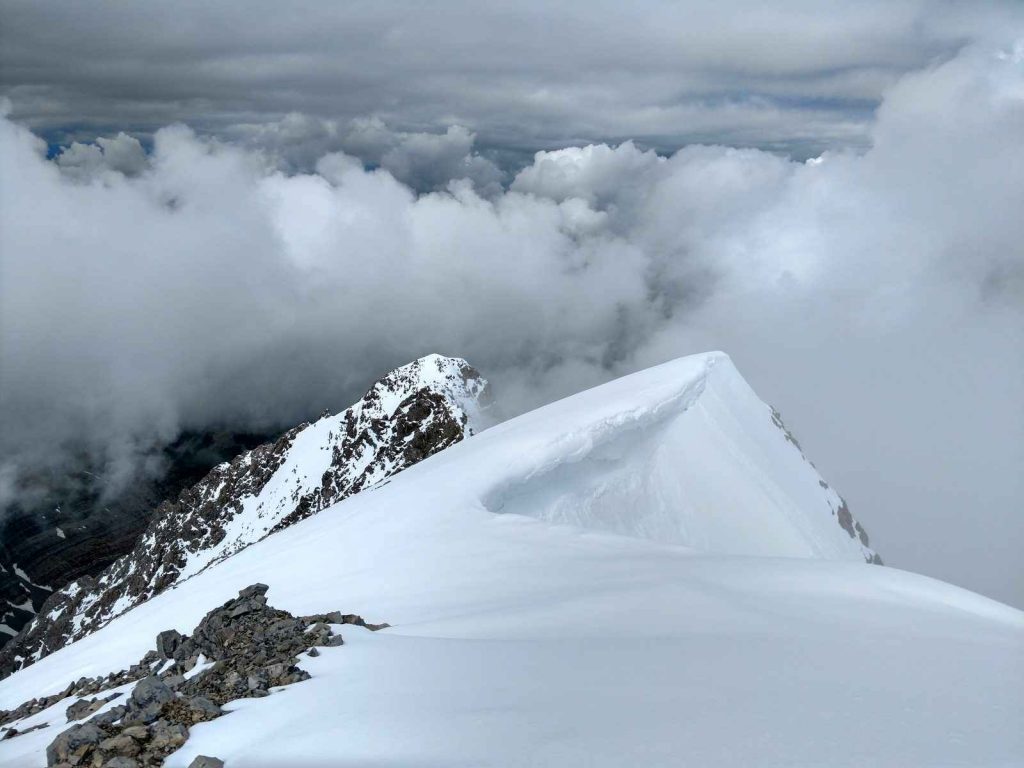
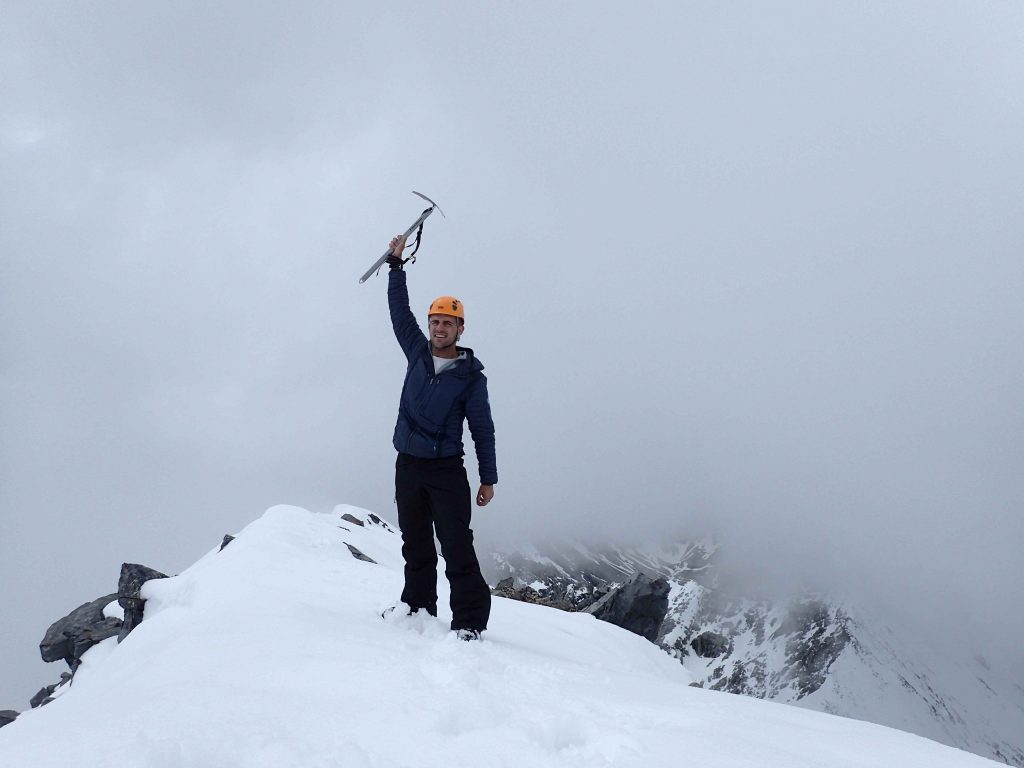
After 9 hours of climbing, I finally summited. If there was a summit register at the top, it was buried in several feet of snow. But the clouds cleared for a brief period and I saw the extreme steepness of the route I just took. Cold but calm, I spent 20 minutes poking around the summit and taking photos. Also I watched a crumbling cornice on the North side of the mountain create small avalanches below; glad that wasn't my route.
Descent
I never felt like glissading is worth the risk so my descent down the arête took about as much time as the ascent. Snow was beginning to soften too meaning the post-holes were more frequent. Elated by a successful summit, I passed through the snow slogs without too much frustration.
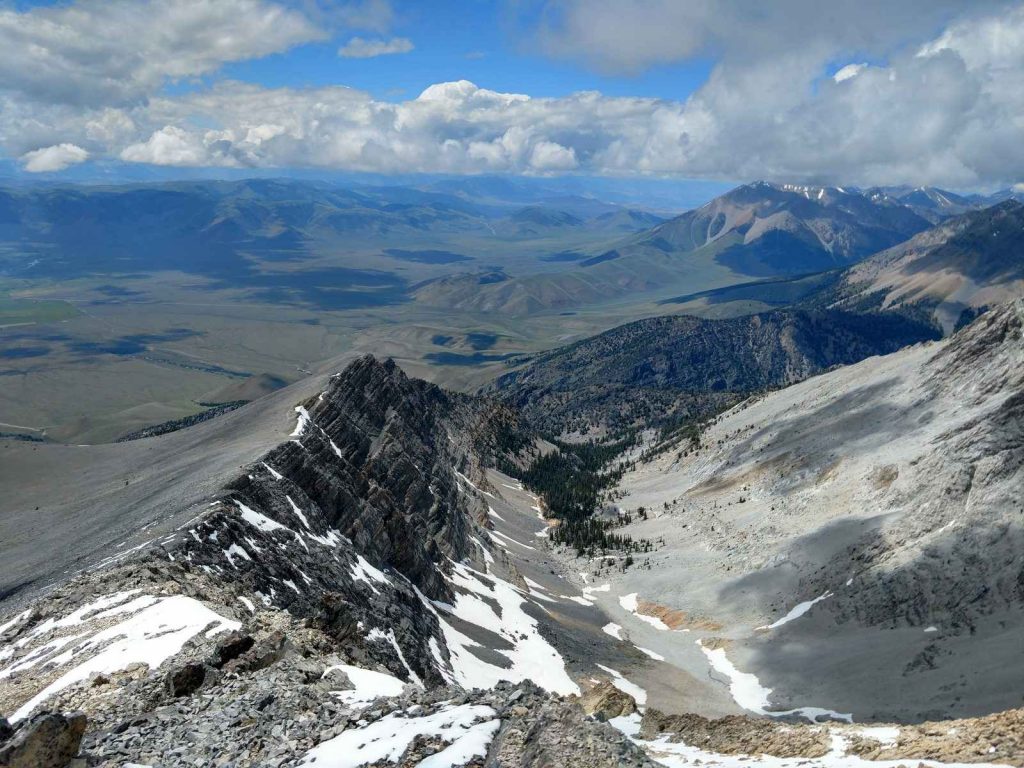
Chickenout Ridge was about as difficult going down as it was up. I thought I'd find an easier way to descend but when I tried taking a different path down, I just ran into the same exposed sections. However the rock is of excellent quality so none of it chipped or easily dislodged. Also, the sun finally came out for good leading to some fantastic photos-
I couldn't believe I made it down before dark. The whole affair took 13 hours which is standard for the climb. I had time to drive all the way to Challis, Idaho and camped at
Pioneer RV Park- a well needed rest!


No Comments